Saturday, July 28, 2012
posted by Geetesh
at 2:50 PM IST
In previous posts, we have explored about Getting the Office 2013 Customer Preview Beta and Before Installing Office 2013 Customer Preview. Now let's take you step-by-step through the entire install process. All through this post, you will find screenshots -- feel free to click on the actual screenshots to see larger representations.
- Go to the Office 2013 Customer Preview site, and click the large green Sign Up button.

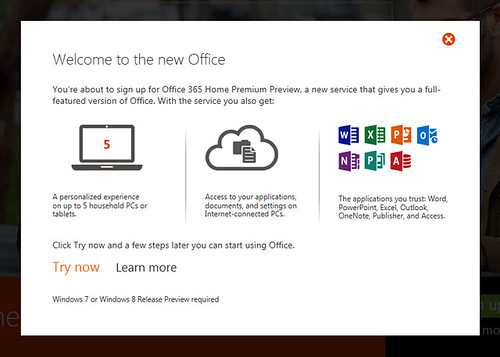
- This gets you to the Welcome to the new Office screen -- unless you want to Learn more, click the Try now link.
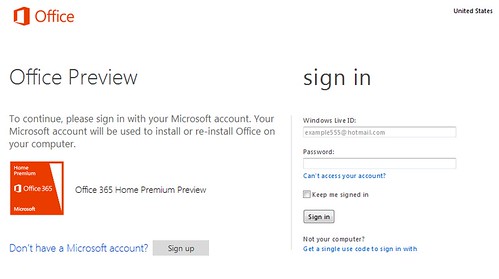
- You now need to sign into your Microsoft account -- this is essentially your Windows Live account -- also if you have a Hotmail, MSN, or XBox Live account -- then you already have a Microsoft account. You can sign in with your Microsoft account -- or do what I did, and create a new account altogether just for this beta.
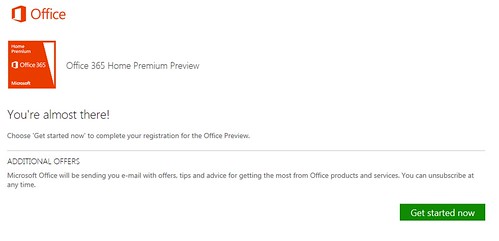
- If you successfully signed in (or signed up), you will see the screen shown below. Click the green Get started now button.
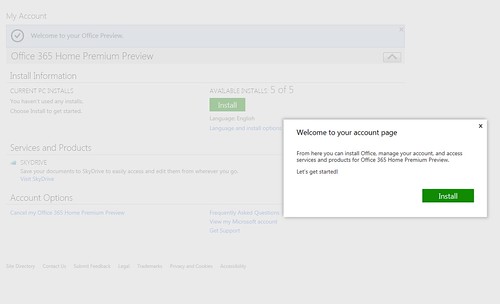
- You'll now see the Welcome to your account page screen -- just go ahead and click the green Install button.
- You'll see a message right near your browser's status bar (at least in Internet Explorer) that asks you if you want to run or save the installation file -- go ahead and click the Run option.

- Next, you will see an indication of the installation beginning, and then connecting to your account -- see the two screenshots below.
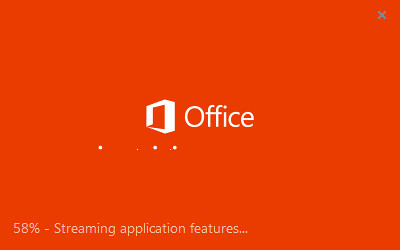
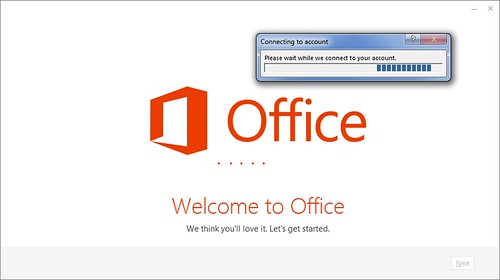
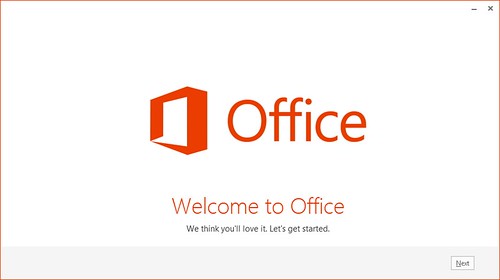
- And then you see the screen that believes you will love Office -- click the Next button to continue.
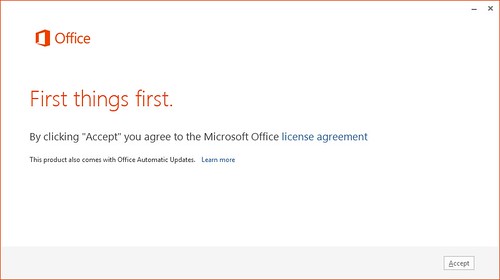
- Now you need to accept the Microsoft license agreement by clicking the Accept button.
- And now for something you would least expect -- a small video clip about the new Office -- here are two screenshots from the video.
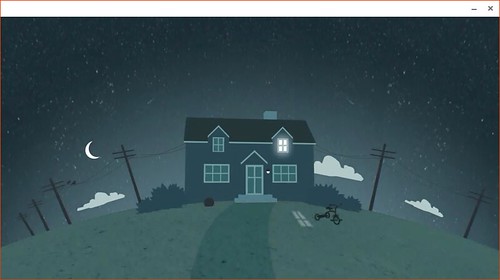
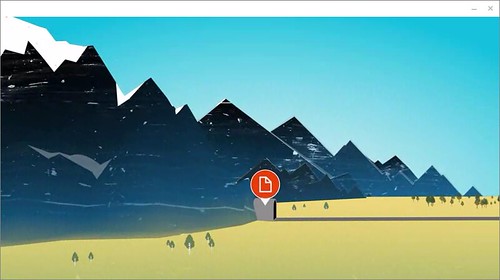
- OK, now you must sign in -- again! We know you already signed in, but that one was for the installation site -- and this one is for your local computer -- so press the orange Sign In button. Notice the smiling and frowning faces on the top right -- click those to tell Microsoft if you are happy or not!

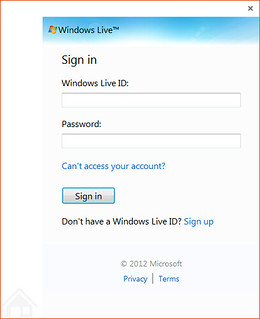
- Now you actually sign in -- use the new Microsoft ID you created.
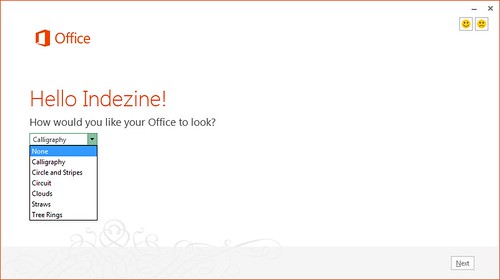
- Now you are welcomed -- and you can also choose a patterned theme for your Office 2013 program interface -- we just chose the None option. Then click the Next button.
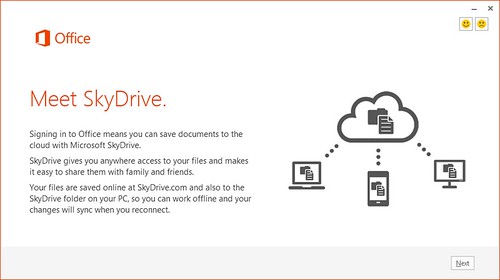
- You next meet SkyDrive, Microsoft's cloud storage solution -- click the Next button to proceed.
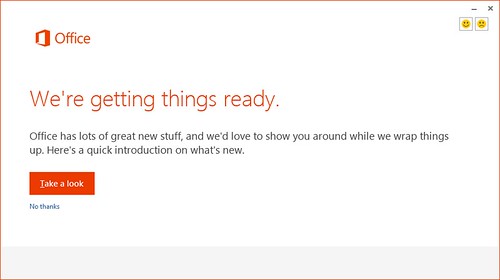
- Now Microsoft wants you to take a look at some other great stuff while they wrap things up -- we just politely clicked the No thanks option.
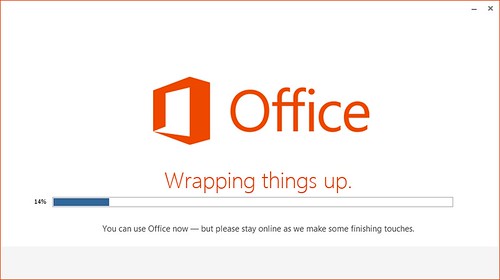
- Now the actual installation starts -- it seems to start from 14% rather than 0% or 1%. Be prepared for a long wait.
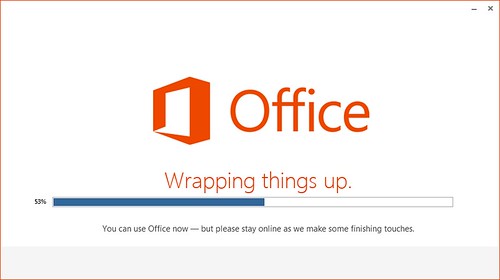
- And then after an hour and half, our installation was done. We tested this installation on a 4 mbps online connection.
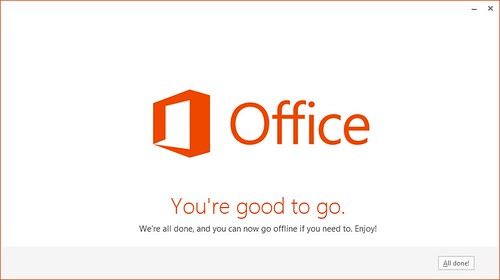
- Launch your program -- we launched PowerPoint 2013. In a few moments, the program was automatically activated.

